
Supplies:
So, for those of you who need specific measurements, hold on a sec, I'll make some up. I do it till it feels right--very unscientific.

- Artichokes
- Lime juice: at least a teaspoon
- Red pepper: I like it spicy--so I use about 3 pinches
- Black Pepper: Same as the red
- Garlic cloves to taste (we like a LOT--so I usually do 3-4)
- Note: the Sabra is a 10 oz container of roasted garlic flavor. Regular flavor is usually what I get, but I was low on garlic cloves, so it worked out.
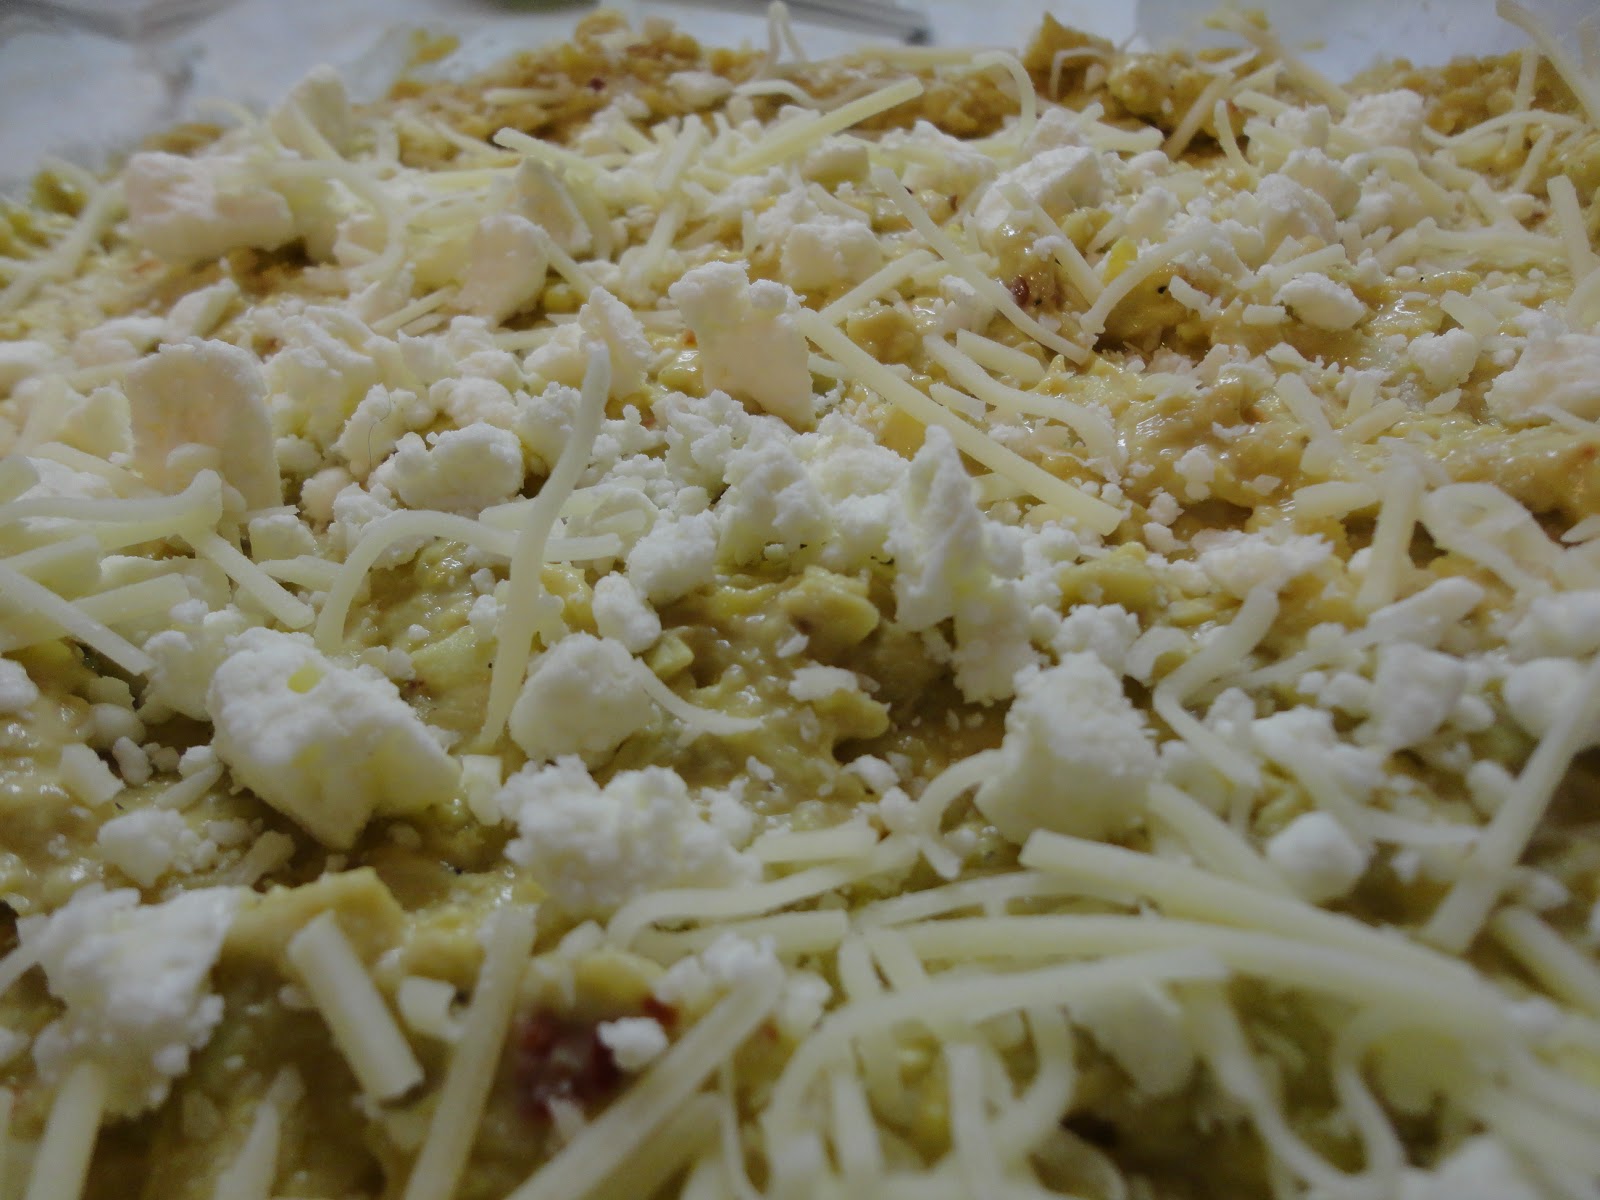
- Cheese: Mozz & Parm mix, and a smattering of Feta
- Crackers: I like Reduced Fat Wheat Thins best
- Garlic crusher
- 10 minutes of valuable time to prepare the goodness
- 20-25 minutes of patience to wait until it's done
- Oven :)
Step 1: Set oven to 350
Step 2: Drain
 |
| Drain the can Drain the artichoke |
Step 3: I tear the head from the leaves, so that the artichokes disperse more evenly around the food processor blade.

Step 4: Start spicing things up.
 |
| Lime Juice, Red Pepper, Black Pepper, Garlic |
Freebie: To lose the skin from the garlic without losing your sanity as well, push down on the clove with the side of your knife blade--just until you hear it crack. the outside layers will peel off much easier.

Step 5: Pulse your processor. I only push the pulse button twice, for about a second each time. You want your artichokes to still be pretty chunky, so they don't pulverize when you blend in the hummus.
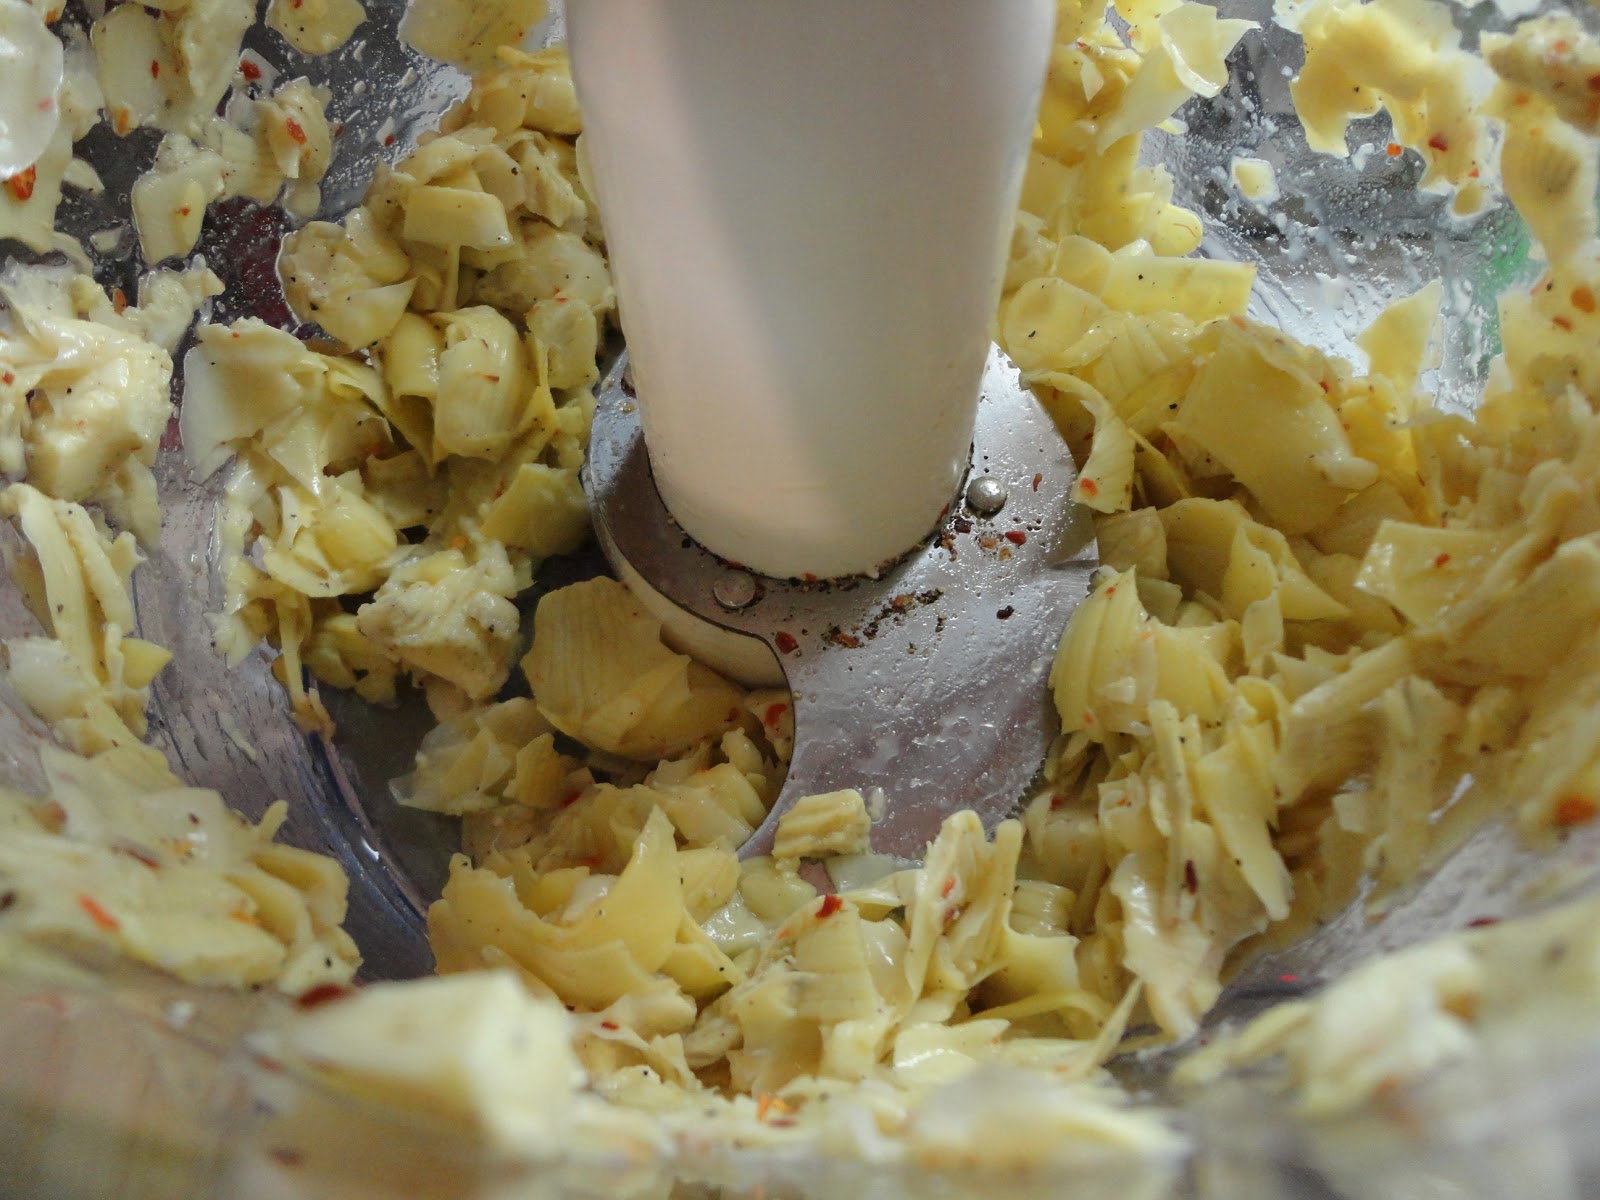
Step 6: Drop in your hummus, and pulse until loosely blended. Again, you don't want to puree this stuff. Spread it in your baking dish.

Step 7: Lightly cheese. Or, depending on how much you like cheese, I suppose you could heavily cheese.
Step 8: Set your timer to 20-25 minutes (this batch took a full 25 for me).

I had time to decorate for our dinner party, and innovate a warmer, more muted source of light for the dining room.


Step 9: Take it out. I don't remove the dip until I see a light browning on the top surface.

Step 10: Eat!

Super easy, and it never survives a party intact. Let me know how you like it.
chesha
I'll be posting here:
-->
Monday:
Tuesday:
Wednesday:
Thursday:
Friday
Sunday:
Interesting! I need to try this out!
ReplyDelete