


If you want to know how to make one--it takes about four White Collar shows, or one movie long to make. A two-hour craft for a 3-way style? works for me. Instructions below.
I used Lion Brand Wool-Ease Chunky (which I just discovered is machine washable & dryable!), in 127 Walnut. This lovely brown almost has a tweedy feel to it, with a red hint throughout. I used a K (6.5) crochet hook.

This is where it gets fairly unscientific. I just made chains until I thought it was long enough. It turns out I must have made 204 chains, because, the way I constructed it, it came out to 100 double crochets per row.
Because this is a cowl/scarf, it doesn't end up very long, and it's designed to wrap around the neck, so I did a double crochet every other chain for my first row of DC. In all, I made 9 rows of DC, and fastened off.
Side tip on how I get the yarn into my darning needle--perhaps this common knowledge:
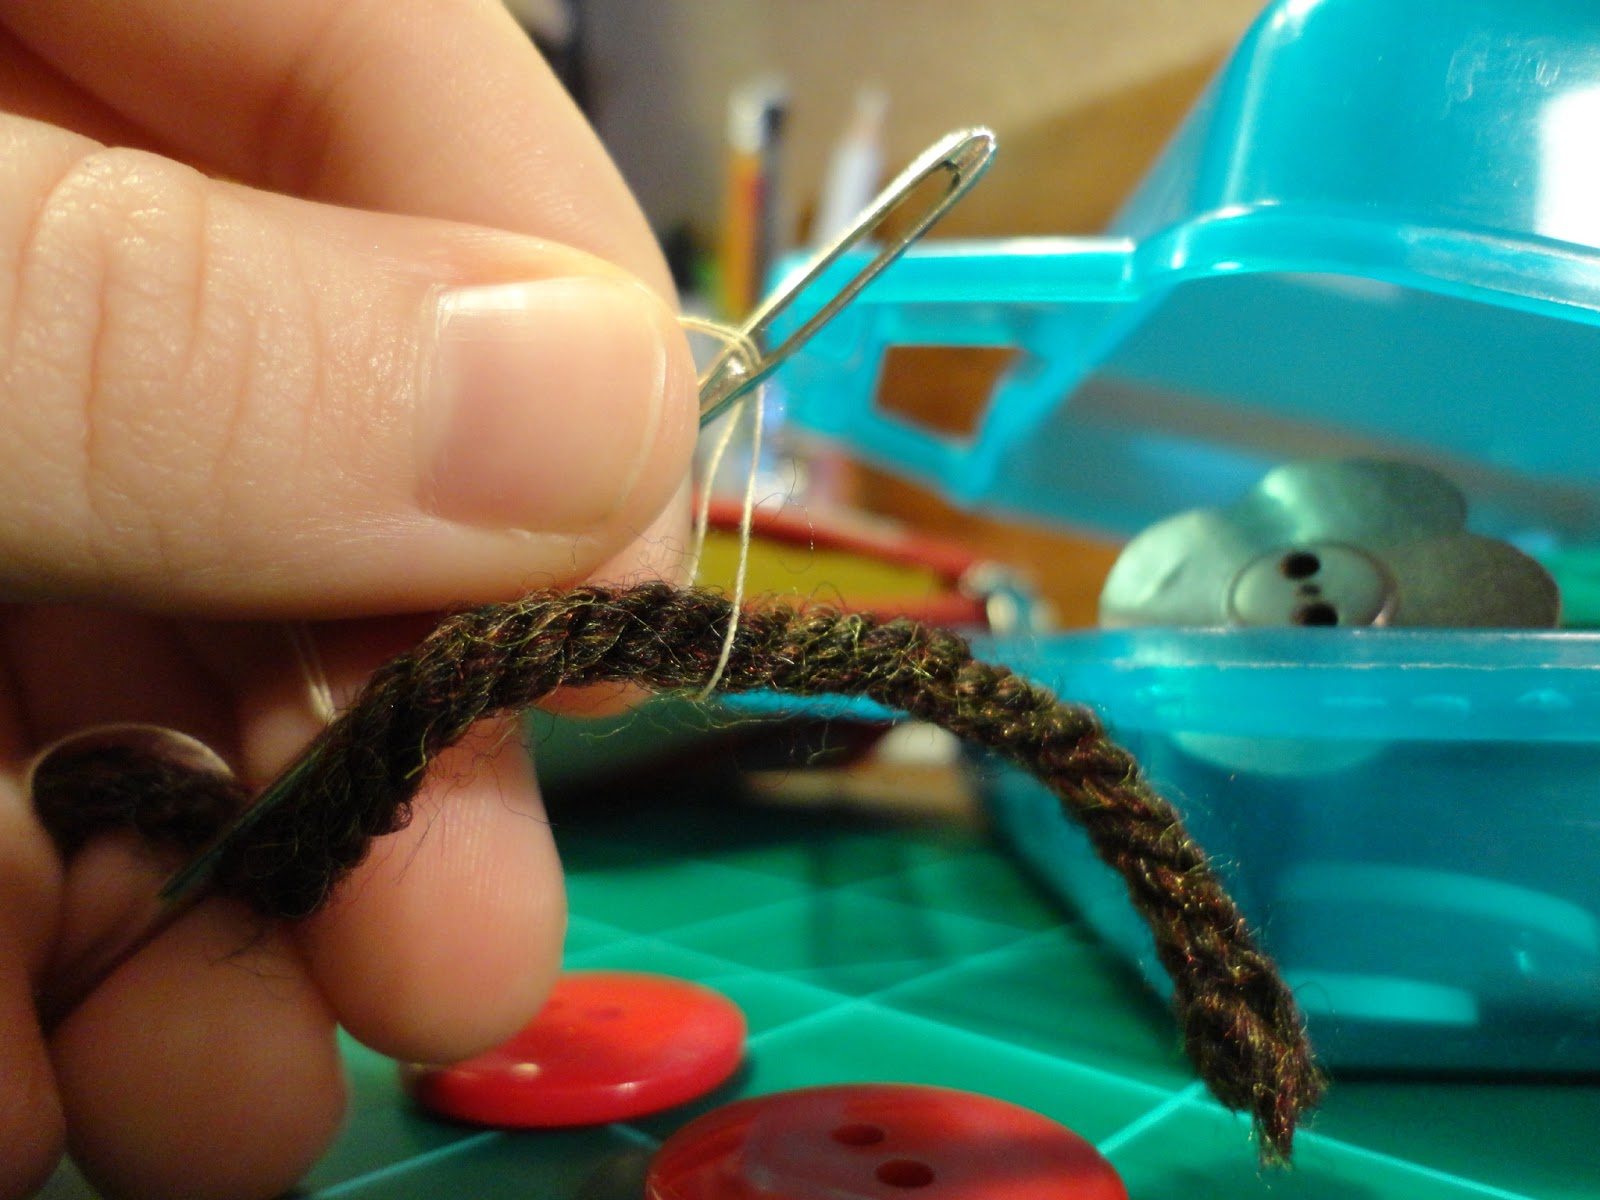


See how making the extra chains give the scarf a slight curve?

Now: time to figure out the button situation. AKA time to start grinning maniacally. It turns out I have a lot of buttons. Everywhere. But this is my favorite treasure trove:

My initial options:

It's important that the button be able to fit through the stitches:

I ended up choosing these, and red embroidery thread to secure them:

To make the sure the buttons were spaced evenly, I counted rows and stitches. The top buttons were on row two, stitch 4 & stitch 13. The bottom buttons were on the second to bottom row, same stitches.
To secure the buttons I:
 |
| Thread through |
 |
| I tie a knot once I make the first pass through |
 |
| And, I tie a knot once I've secured the button with 3-4 pass-throughs |


chesha
I'll be posting at these sites:
Monday:
http://keepingitsimplecrafts.com
Tuesday:
http://www.adiamondinthestuff.blogspot.com
Wednesday:
http://mygirlishwhims.com
Thursday:
http://thecraftyblogstalker.com
Friday:
http://shabbynest.blogspot.com
http://fivedaysfiveways.com
Sunday:
http://flamingotoes.com
http://itsoverflowing.com
http://twiggstudios.com
Love how you put the buttons on this. Looks like an easy project and I might have to try my own version :)
ReplyDeleteThanks Christine! Let me know how you embellish if you do. I have to admit to a bit of reluctance handing it over to my friend... ;)
DeleteSo lovely!!! Love the color and the buttons! Thanks so much for sharing tutorial! I'd love for you to visit my blog.
ReplyDeleteHave a fabulous day!
Hugs from Portugal,
Ana Love Craft
www.lovecraft2012.blogspot.com
Thanks, Ana!
DeleteSo cute!! Love it! Thanks for stopping by my blog earlier!!
ReplyDeleteJenna @ rainonatinroof.com
I love how you added the buttons. I am a new follower! I found your link on Flamingo Toes. I would love for you to link up to my weekly linky party Fluster Muster on Wednesday’s @ http://www.FlusterBuster.com.
ReplyDelete