


Supplies:
 |
My inspiration is this Moleskine notebook:
 |
| I like to customize... |
The inspiration notebook is 3.5 inches wide and 6.5 inches long (exactly half a 8.5 x 11 sheet). After cutting my sheet of cardboard in half (at 6.5 inches), I measured and cut along the new long side of it at 7 1/8 inches. This way, when the notebook is folded and half, and carrying the bulk of multiple pages of paper, it still looks nice.

Now the cut. Straight edge, utility knife, done.

Now score down the center at 3 6/16 inches. In a pinch, a butter knife works just fine for this. Just don't press so hard as to cut into the paper.
 |
| Score>>>>>>>>>Will look like this |
Gently fold along score, and press. Now, take off the corners (if desired). Got this tool for $6 with the Hobby Lobby 40% off coupon. Worth it, from my perspective!

Now, the paper steps, in sequence:
Measure sheet at 6.5 inches (center line)

Cut at 6.5 inches.

Measure: at seven inches along new long side (not 7 1/18 as for cover)

Cut

Score at 3.5 inches. SCRATCH THAT. I just folded each sheet in half. Easier, and more uniform fold that way. Ignore difficult to achieve photo below.

To combine the elements:
Draw and poke holes in the cardboard every 1/5 inch. An awl is lovely for this step.

Eventually, I found the easiest way to punch the holes in the paper: line the up on the outside of the cover, and push the awl through each hole until it passes though the papers. Be gentle, so you don't end up pushing more than the tip of the awl through.

Now, place the paper inside the cover, and we'll sew her up. Start on inside, and leave a couple of inches of string. Sew down, turn around, and come back up, creating a solid line. Use a simple knot to tie it off. Tip: If you leave a lot of tail, you can sew it back through the outside of the cover, and use as to tie the notebook (see some below).

Your pages will all be wonky. I trimmed off the excess, to create a smooth edge...

...Then round the corners of the pages (it's tedious, but I found doing a couple sheets at a time makes the best result).
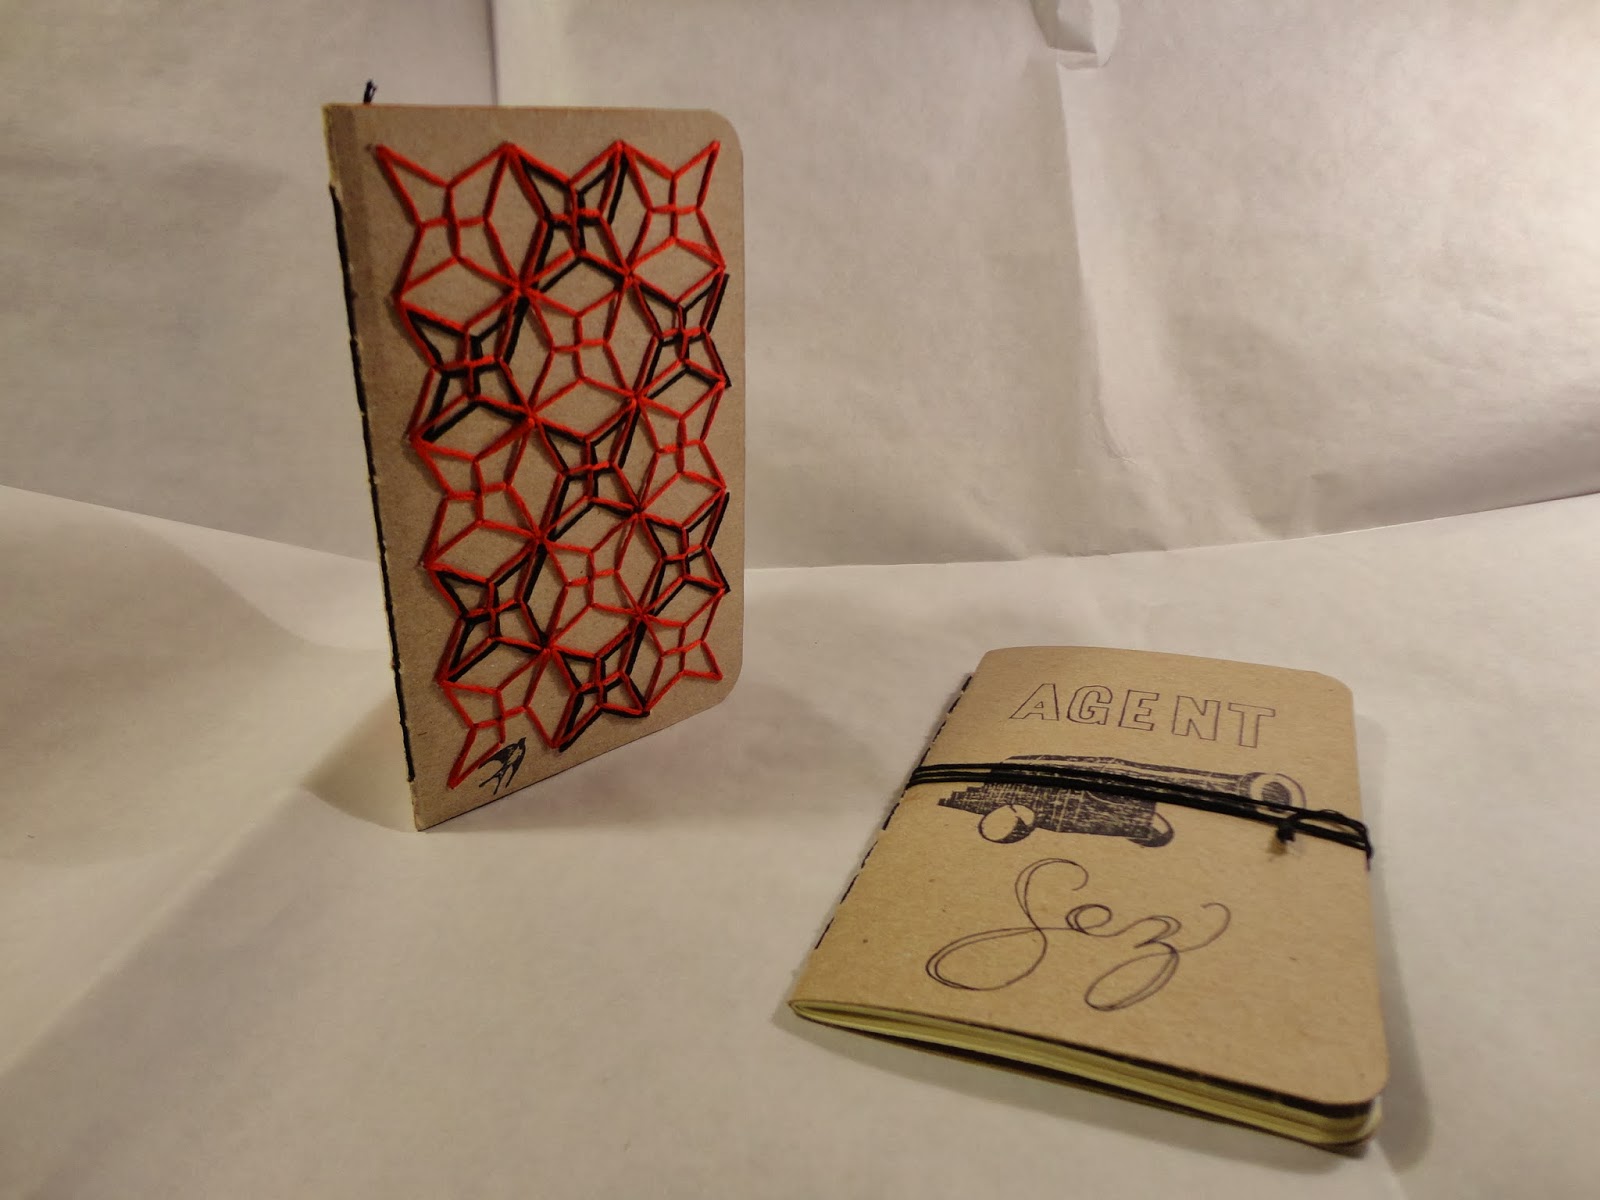
Some of my final products:


 |
| Built an easy pocket inside. Extra points for getting the Freudian reference |

(Possibly) Linking Here:
Monday:
Wednesday:
Friday
Sunday:
Wow, These are beautiful!
ReplyDeleteThank you, Carmody!
Delete